Is Moisture Affecting Your Home?

Moisture problems happen—we have solutions. Click below to see how we can help.

close window
Crawl Space Inspection

Crawl Space
Waterproofing

Basement Waterproofing

Basement
Waterproofing

Helical Pier Installation

Foundation
Repair

French Drain System

Yard Drainage
Solutions

Ready to schedule your free inspection? 

The Best Way to Waterproof Basement Walls

Basements

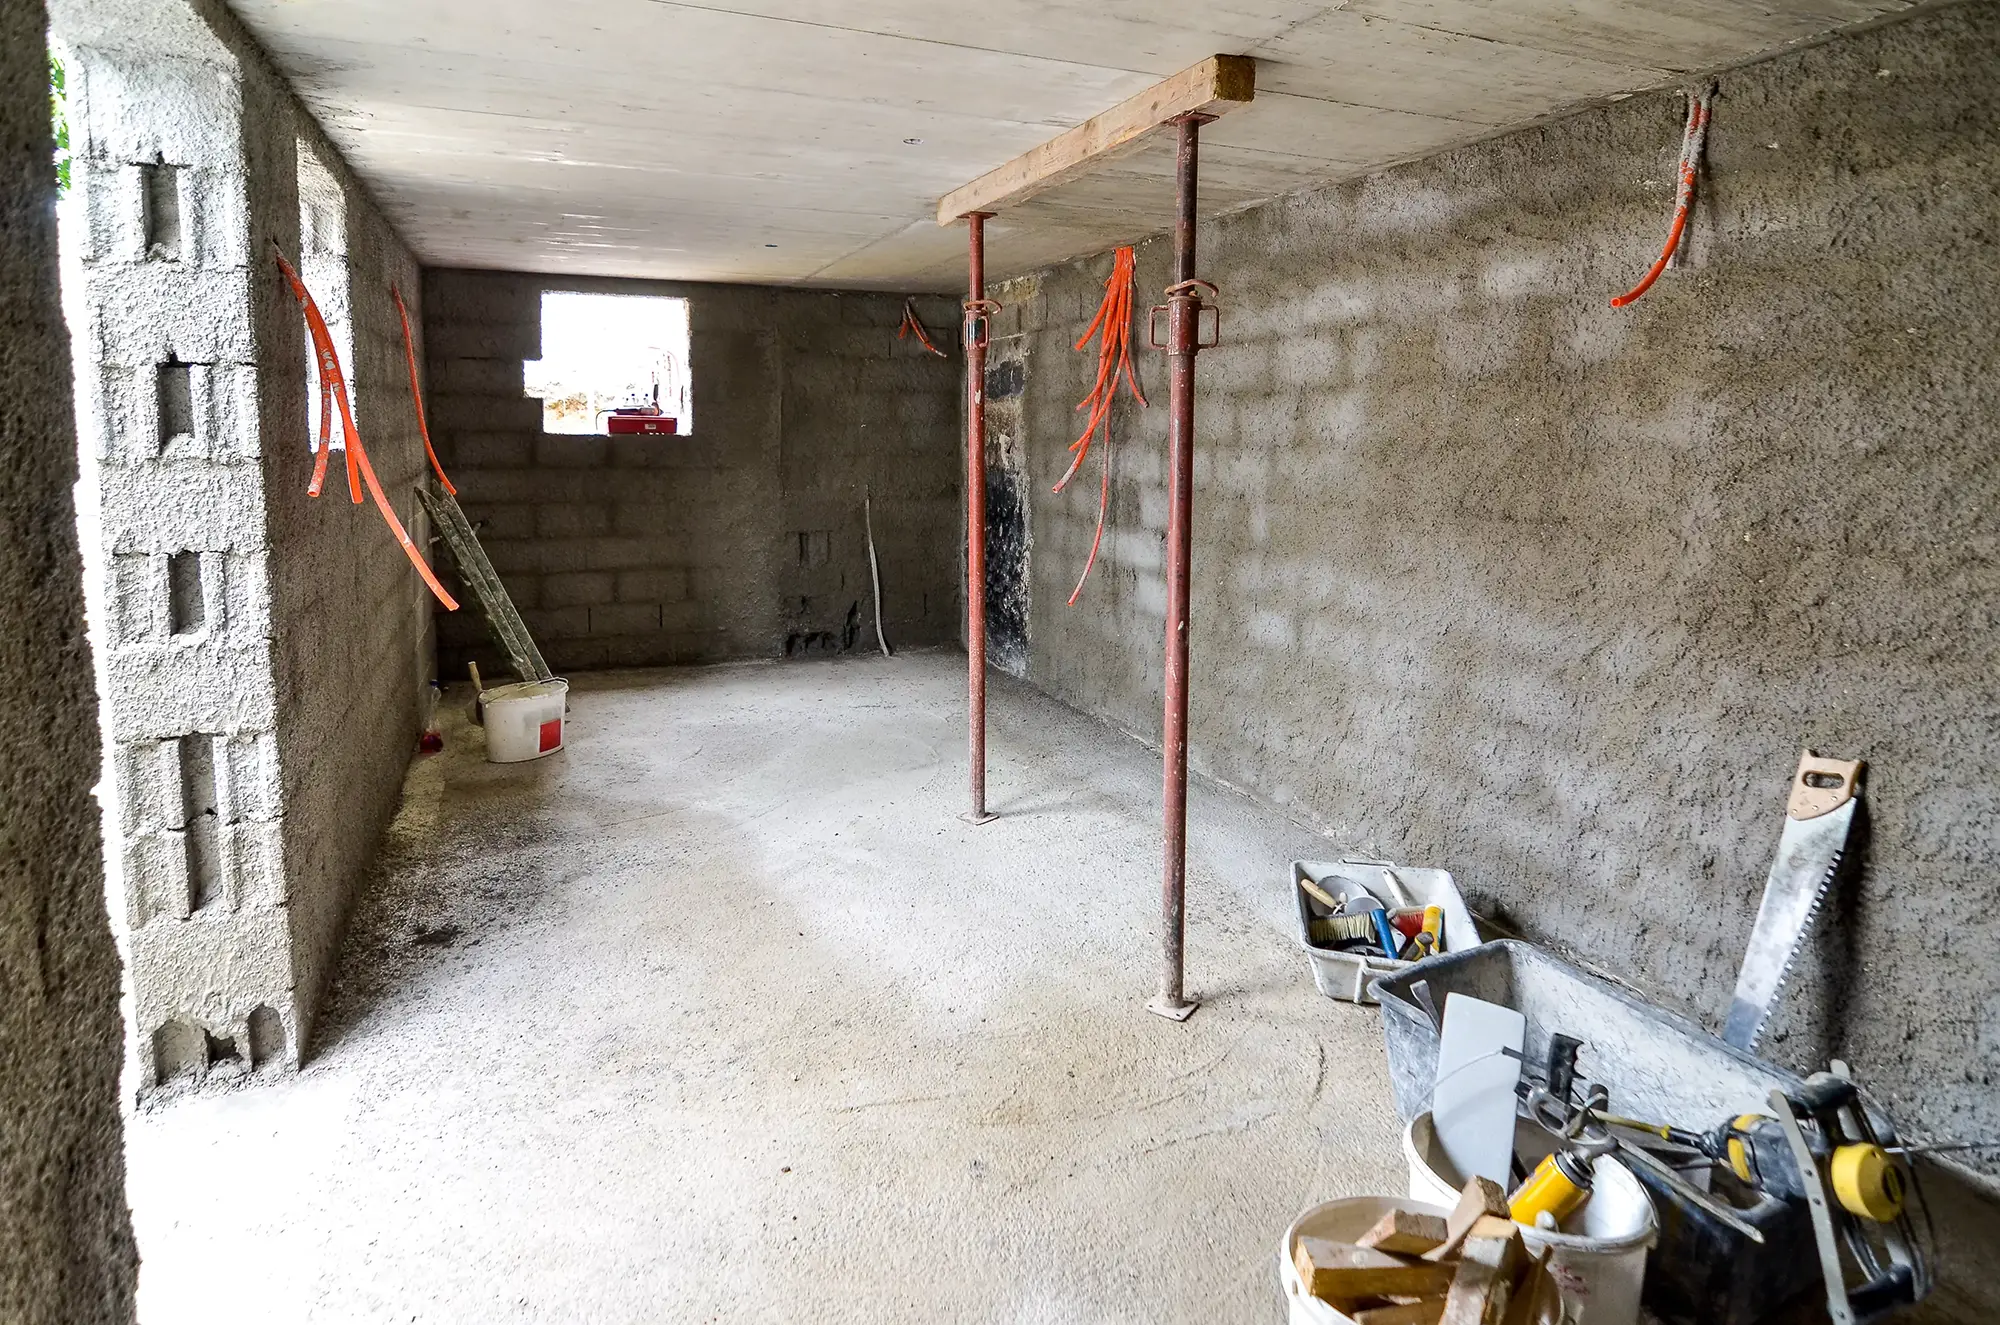
Wet and musty basement walls are one of the most irritating things about house maintenance. However, it's not too hard to troubleshoot and fix the problem. DIY techniques and some quality products can make the job easier. We are here to help you find the best way to waterproof basement walls.

While there can be many reasons for wetness or moisture, waterproofing basement walls can be done in many ways.

Generally, these walls capture moisture from puddles, floods, etc. However, since they are built at lower levels, the dampness remains longer. Hence, it causes peeling paint, mildew growth, and, worst of all, weakening walls.

So, how can you ensure basement wall waterproofing? This post will look at some of the most effective methods to find the best way to waterproof basement walls. Moreover, we will answer some critical questions about the best way to waterproof basement walls.

Step 1 – Stopping Water From Reaching Your Wall

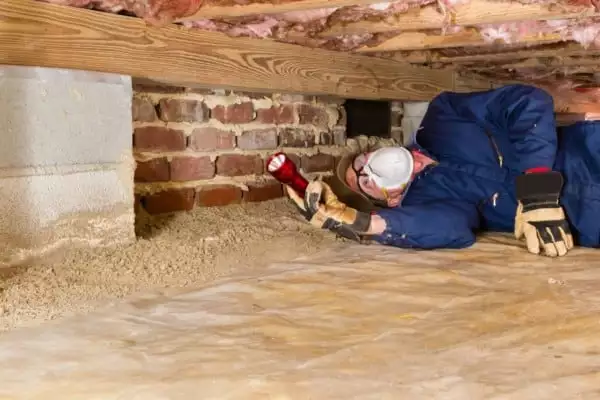
First up, you must prevent the source of water from reaching your walls. But how do you do that? Start with a visual inspection of the walls to determine:

  • Cracks in the walls – Cracks allow moisture to penetrate the basement through the walls. Once identified, mark the cracks with chalk or painter's tape.
  • Wet spots – Identifying wet spots is a slightly longer procedure, but it's pretty simple. Take an aluminum foil and stick it to a suspected wall surface.
    • If the aluminum foil collects condensed vapors on the outside of the foil surface, the internal part of your basement is quite humid, and that's the source of water penetration.
    • If the aluminum foil collects water on its inside, the water seeps through from outside the basement walls. It indicates that the soil outside your basement is heavily moist and needs to be addressed. So, instead of waterproofing your walls, it's better to remove the source of moisture from outside the basement walls.

Step 2 – Prep Your Walls

Now, it's time to prep your walls. Here, you must remove any debris and loose attachments, dirt, and cobwebs from the wall's surface. You might notice some white effervescence on the walls, which accumulates due to salty content in the water.

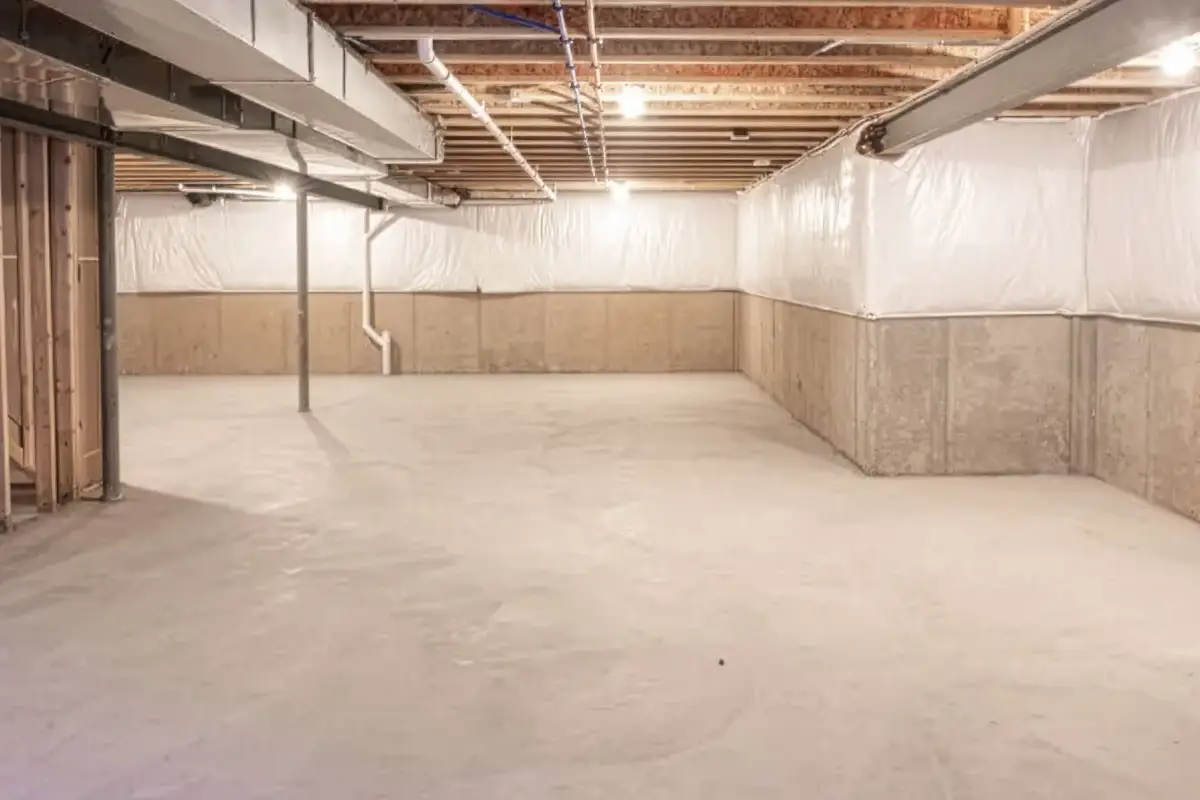
Step 3 – Interior Waterproofing

Interior waterproofing methods ensure no digging or heavy machinery usage. It mainly deals with sealing cracks with waterproof material. So, it's time to fix the cracks you identified in step 1. Use a caulk gun with a permanent concrete crack sealer to fill any gaps.

If you have wide cracks, you might need basement wall crack plugs to prevent water seepage. When you have filled the cracks and the sealant has dried off, it's time to strengthen your waterproofing.

Use any of the following types of interior waterproofing to secure your walls further:

  1. Concrete Waterproof Coating
    It's a simple basement wall waterproofing technique where you administer thick cement-like coats to the walls. You can apply the coating with a natural fiber brush when they dry off. However, these coatings only work on non-painted surfaces.
  2. Waterproofing Paint
    Acrylic paint formula with waterproofing capabilities can prevent water leakages, thereby making your walls impenetrable for a long time. You can either spray, brush or roll waterproof paint on the walls. In addition, you can paint over a previously painted wall, and it's ideal for minor waterproofing jobs.
  3. Use Plastic Panels and Sheets
    Plastic panels don't stop the water from reaching the walls. However, when combined with the drainage system, they direct the water to run down the plastic panel and into the draining lines. Hence, they can limit the damage to the interior walls.
  4. Silicate-Based Concrete Sealer
    It's also known as the mineral sealer. This concrete sealer provides a transparent finish, which is most suited to virgin concrete walls. Silicate chemicals react with the concrete to form a waterproof surface and prevent water from penetrating through minor gaps.

Best Way to Waterproof Basement Walls on the Exterior

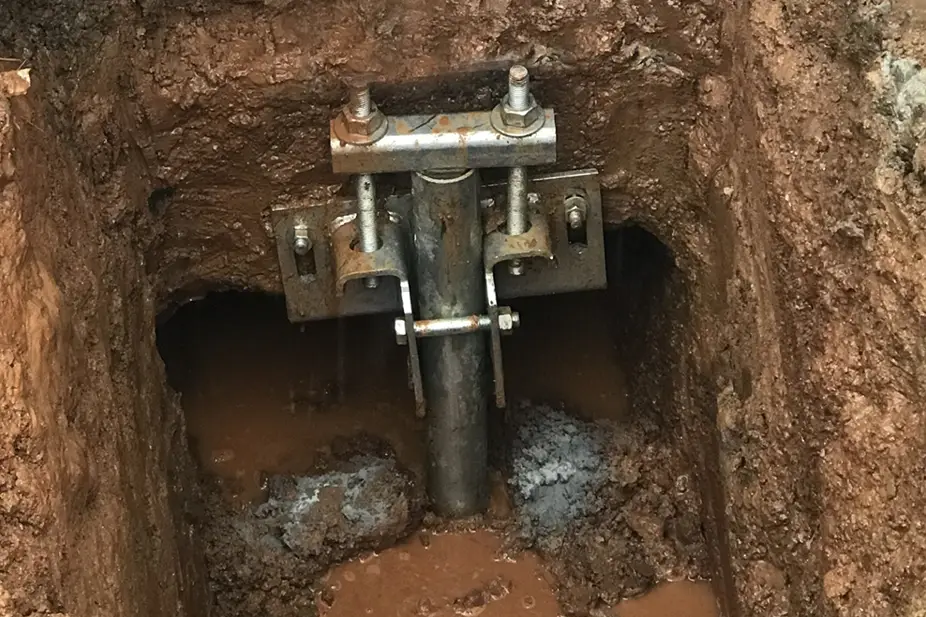
Exterior basement wall waterproofing is your best bet if you want to get rid of moist walls. It's a time-consuming and destructive procedure, but it is more than satisfactory.

However, exterior waterproofing is also the most expensive of all methods. In exterior basement wall waterproofing, you must excavate the area around the walls. It's important to excavate down to the depth of the wall.

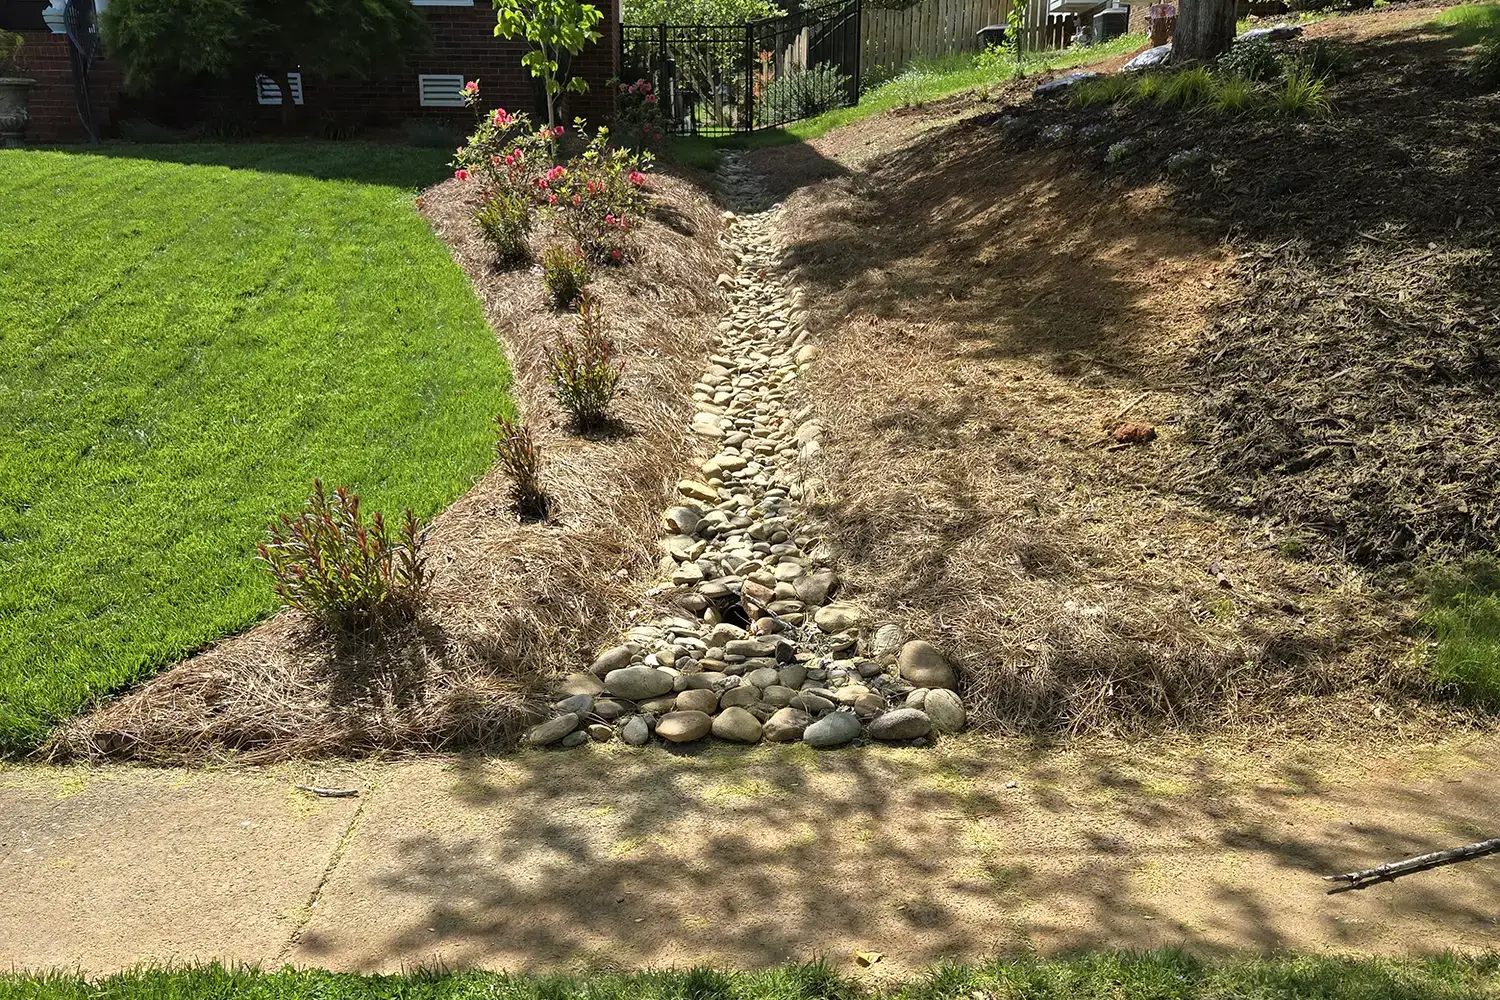
Then, apply a waterproof coating to prevent water from penetrating through. Once again, you can use any of the materials used for interior waterproofing. Also, you can use membrane-topped drainage panels to protect your walls from the outside.

While basement waterproofing may seem like a DIY job, it's best to use professional services for long-lasting results. MoistureLoc provides top-quality basement wall waterproofing services to keep your home's basement nice and dry all year.

Some FAQs for Basement Walls Waterproofing

Now that you know the top methods to secure your basement walls, it's time to answer some common questions people often ask about waterproofing.

What is the cheapest option for basement waterproofing?

The cheapest option for waterproofing is interior waterproofing with acrylic paint. At times, fixing the cracks with a sealant can do the job.

How do you waterproof an old basement?

An old basement may require a new concrete plastering job. That way, you can get rid of all the cracks and start fresh. At the same time, make sure to stop any external sources of water leakage.

Act Before It's Too Late!

Water penetrations are quite troubling because they weaken your basement walls. So, taking the right preventative steps at the right time can help secure your basement walls for longer. Contact MoistureLoc to speak to one of our experts about waterproofing your basement today.

Table of Contents

What is a Crawl Space Vapor Barrier?

A vapor barrier is a plastic liner that covers the dirt floor of your crawl space. Its job is to prevent moisture and water vapor from entering. The plastic covers the floor, but not the walls. A vapor barrier doesn’t seal your crawl space the way encapsulation does.

The installation of a vapor barrier doesn’t require a dehumidifier, like an encapsulation does, because your vents stay open. A sump pump isn’t necessary either, though some homes might need one depending on their backyard slope and drainage conditions.

The right plastic for under a house use is usually a polyethylene sheet rated for ground contact. A standard 6-mil barrier meets code in most jurisdictions. Moisture Loc’s crawl space repair professionals use a thicker poly liner for added moisture protection.

crawl space vapor barrier

Benefits of a Vapor Barrier

  • Better air quality throughout your home
  • Creates functional space for storing items
  • Reduces humidity, which lowers the chance of mold
  • Lower monthly energy bills

A vapor barrier makes sense for some Charlotte homes. If your crawl space is reasonably dry to start with and if your main concern is keeping ground moisture out, a quality moisture barrier for crawl spaces can provide protection for less expense than a full encapsulation.

What is a Crawl Space Encapsulation?

With crawl space encapsulation, trained professionals completely seal your crawl space in plastic, using a thicker liner than they use with a vapor barrier. The thickness is one difference between the two procedures. The bigger difference is coverage. With encapsulation, the plastic covers the floor, the walls, columns, and every conceivable entryway. All of your foundation vents get sealed tight.

With encapsulation, your dark, dank, crawl space becomes a room.

A dehumidifier is required to control humidity inside the sealed space. The American Society of Heating, Refrigeration, and Air-Conditioning Engineers recommends keeping your home's relative humidity between 40–60%. A dehumidifier helps make that happen.

crawl space encapsulation

A sump pump is also typically installed if there is any history of standing water in your crawl space.

The purpose of encapsulation is to dramatically reduce moisture, eliminate the conditions that enable mold to grow, and produce clean, conditioned air under your house. Plus, once your crawl space is sealed, it becomes usable storage space, so you may just have a new place to store all those holiday lights and decorations.

For a complete breakdown of what encapsulation involves, what it costs, and how long it lasts, see our complete guide to crawl space encapsulation in Charlotte.

Benefits of Encapsulation

  • Better indoor air quality
  • Lower monthly energy bills
  • Reduced humidity year-round
  • Greatly reduced risk of mold
  • Protection for hardwood floors (moisture from underneath can cause floors to warp and buckle)
  • Higher resale value for your home
  • Longer life for your heating and cooling ducts (moisture from the crawl space can lead to mold growth, damage, and rust in your ductwork)
  • Fewer pest problems (an unsealed, open crawl space is attractive to all kinds of critters and pests, and encapsulation helps keep them out)

Vapor Barrier vs Encapsulation

A vapor barrier addresses one specific issue: gaseous water vapor rising up through the soil. This issue is real, and in many homes, it may be the only moisture issue happening. But a vapor barrier doesn’t do much when moisture enters from anywhere other than the ground. In Charlotte, the humid outside air is going to find its way inside another way. But, if that air isn’t causing any significant impact, a vapor barrier could be the way to go.

As you’ve gathered by now, crawl space encapsulation goes further. It seals out water vapor across the entire crawl space, including the walls, and stops the cycle of moisture moving from the ground up.

Because the whole space is enclosed, the risk of moisture problems drops to near zero. When insulation gets added to the system, the sealed crawl space also helps keep cool air in during the summer and warm air in during the winter, which makes the home more comfortable and energy-efficient year-round.

Cost of a Vapor Barrier vs Encapsulation

As you’d probably guess, there’s a price difference between a vapor barrier and a full encapsulation, and it’s the main reason homeowners should have a clearer understanding of the purpose and effectiveness of each one.

A professionally installed vapor barrier in the Charlotte area typically runs from $2,000 to $6,000. The number is lower for small, accessible crawl spaces and gets higher for larger homes, low-clearance spaces, or installations using thicker material. Significant debris removal or repairs will increase the total cost as well.

Full encapsulations can range from $6,000 to $20,000 with most Charlotte homes landing in the $6,000 to $11,500 range. The higher cost reflects how much more work is involved with an encapsulation. Sealing every vent, lining the walls, installing a commercial dehumidifier, adding a sump pump if needed, and addressing any mold or rot before the plastic goes in all add to the bill. Often times, encapsulation is just a component of a larger overall repair. Getting a free estimate is always a logical first step for Charlotte homeowners, and the best way to eliminate surprise bills moving forward.

A few variables that impact encapsulation cost:

  • Crawl space size: More square footage means more material and labor.
  • Additional work needed: Standing water, mold, wood rot, structural repair, or rotted insulation requires clean-up/repair before encapsulation.
  • Plastic thickness: Code-minimum 6 mil is cheaper than 12-mil or 20-mil reinforced liner.
  • Drainage needs: A French drain or sump pump installation pushes the total higher.
  • Access: Tight crawl spaces are harder to work in and take longer to finish.

The sticker price for a crawl space encapsulation seems steep until you compare it to the long-term costs of doing nothing. Wet crawl spaces lead to mold, rotted joists and beams, ruined insulation, and foundation cracks, all of which run into the thousands when they occur. Most Charlotte homeowners recover the cost of encapsulation within seven to ten years through lower energy bills, avoided repairs, and a stronger resale price for their home.

For a deeper look at pricing, check out our article on the cost to encapsulate a crawl space.

Which One Is Right for Your Charlotte Home?

The honest answer is that it depends on what’s happening under your house right now. Some Charlotte homes are fine with a vapor barrier. Most are not, because our Southern climate works against vented crawl spaces for three-quarters of the year, if not more.

A vapor barrier is usually enough when your crawl space is dry to start with, you have good exterior drainage, and no history of standing water.

Full encapsulation makes sense when standing water has appeared in your crawl space, indoor humidity isn’t differing much from outdoor humidity, you see mold or condensation on your HVAC system, or you want better air quality in your home.

For most Carolina homes built before the early 2000s, the local climate and clay soil make encapsulation a logical choice. Yes, the cost is tough to swallow at first, especially for a room you don’t use, but the humidity here is just too relentless for an open-vented crawl space to stay dry for an extended period.

A thorough inspection is the only way to know for sure. A quality professional should tell you when a vapor barrier is all you need. A second opinion is always an option.

The solution you go with is relative to the problem you have, and hope to avoid having. But doing something now is always better than doing nothing and paying for it later.

Contact us for a free inspection and an honest recommendation about whether your home needs a vapor barrier, full encapsulation, or nothing at all.

Frequently Asked Questions

What is the difference between a vapor barrier and encapsulation?

A vapor barrier is a plastic liner across the dirt floor of your crawl space, usually 6 mil thick, designed to keep ground moisture from rising. Encapsulation is a full sealing of the crawl space using thicker plastic that covers the floor and walls, with all vents sealed and a dehumidifier added to control humidity. Vapor barriers handle one problem. Encapsulation minimizes a much larger moisture threat.

Is a vapor barrier enough for a Charlotte crawl space?

Sometimes, yes. If your crawl space is dry, well-drained, and shows no signs of high humidity, a quality vapor barrier can do the job. Charlotte's humid climate and clay soil make full encapsulation the better fit for many homes, but certainly not every home. An inspection will tell you which one your situation calls for.

How much does a vapor barrier cost compared to encapsulation?

A professionally installed vapor barrier in the Charlotte area typically runs $1,500 to $4,000. Full encapsulation generally runs $5,000 to $15,000, depending on the size and condition of the space.

Can I add encapsulation later if I start with a vapor barrier?

Yes, and many homeowners do exactly that. A vapor barrier is a reasonable first step. If moisture issues persist or you want the full benefits of a sealed space later, the encapsulation work picks up from where the vapor barrier left off.

A Vapor Barrier or Crawl Space Encapsulation? Is it Time to Find Out Which One Your Home Needs?

Moisture Loc specializes in basement and crawl space waterproofing, foundation repair, sealed crawl space encapsulation, and more. We have been serving Charlotte-area homeowners for nearly 40 years. Contact us for a free inspection and an honest assessment of your crawl space, yard, and foundation.